

This post includes affiliate links for Amazon which will give me a small commission on any items you buy through the link at no extra cost to you – win/win!
Does anyone else have a pile of projects they tackle on and off for months? For me, this plastic canvas thistle has been one of those. I had never done any plastic canvas crafts before but saw some in a local craft shop and could not resist! I immediately went home to pinterest and had a hunt for some design inspiration. Now, I have to say, a lot of what comes up if you search for plastic canvas projects is in the so-bad-it’s-good category. I could browse the wide range of retro-fabulous patterns with their super saturated photographs all day, I really could. Below are some favourites I found online!
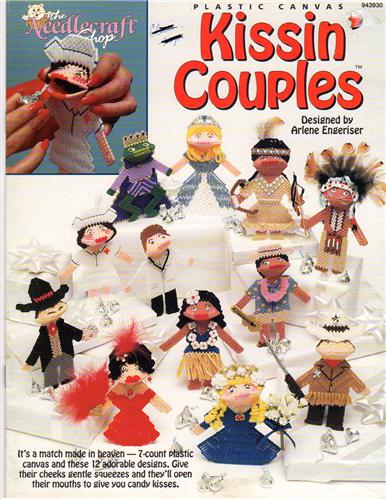

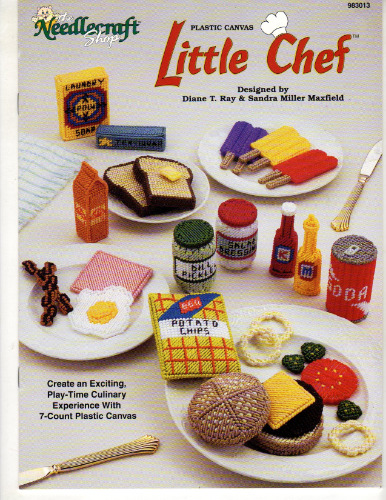
The gems above are all on sale here in case you are so inclined! They also have a tonne of other retro cross stitch and plastic canvas goodies which are very tempting.
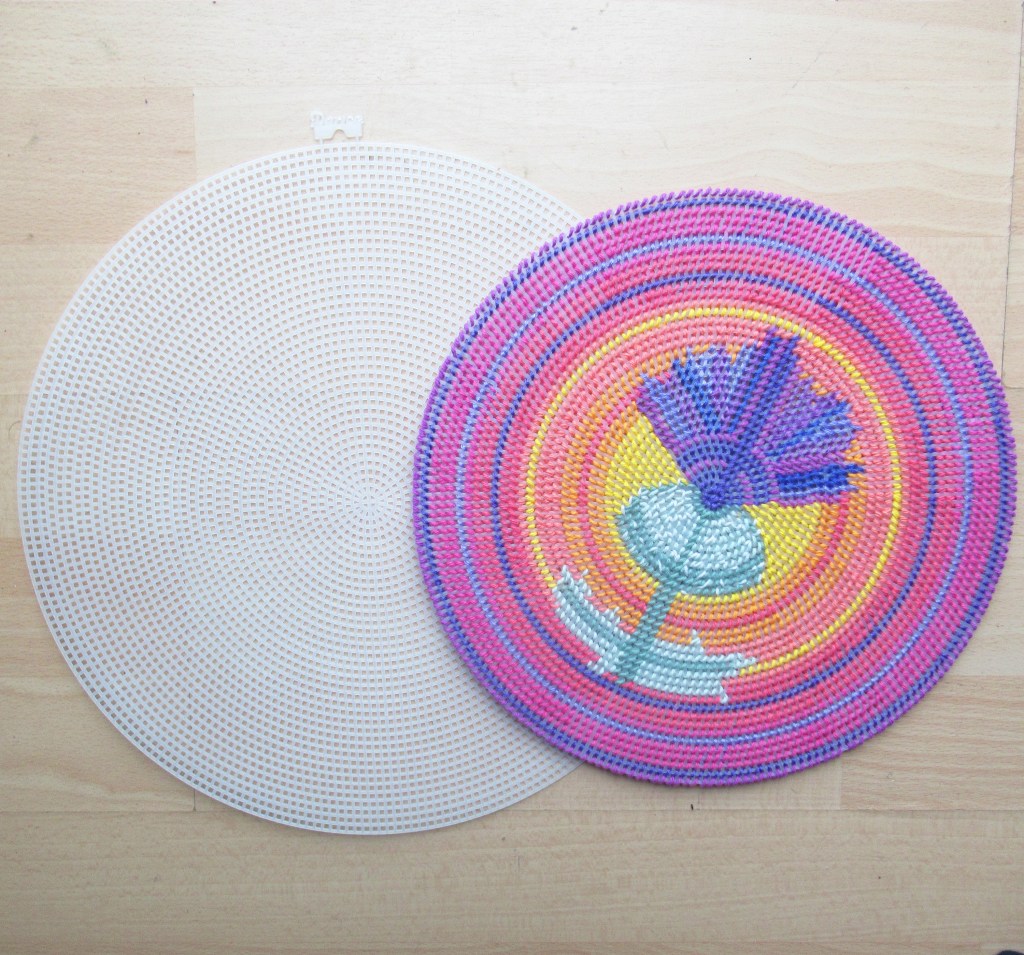
While the patterns I found were all stunning, there weren’t many for the circle grid that I had bought so I ended up making up my own. I found some very pretty mandala-type patterns which were an inspiration and discovered that round beading or crochet diagrams could also be useful for design inspo. I would like to put a special mention in for this thistle design which was almost exactly what I was after! I wish I could credit the original artist but I have just shared the pinterest link for now.
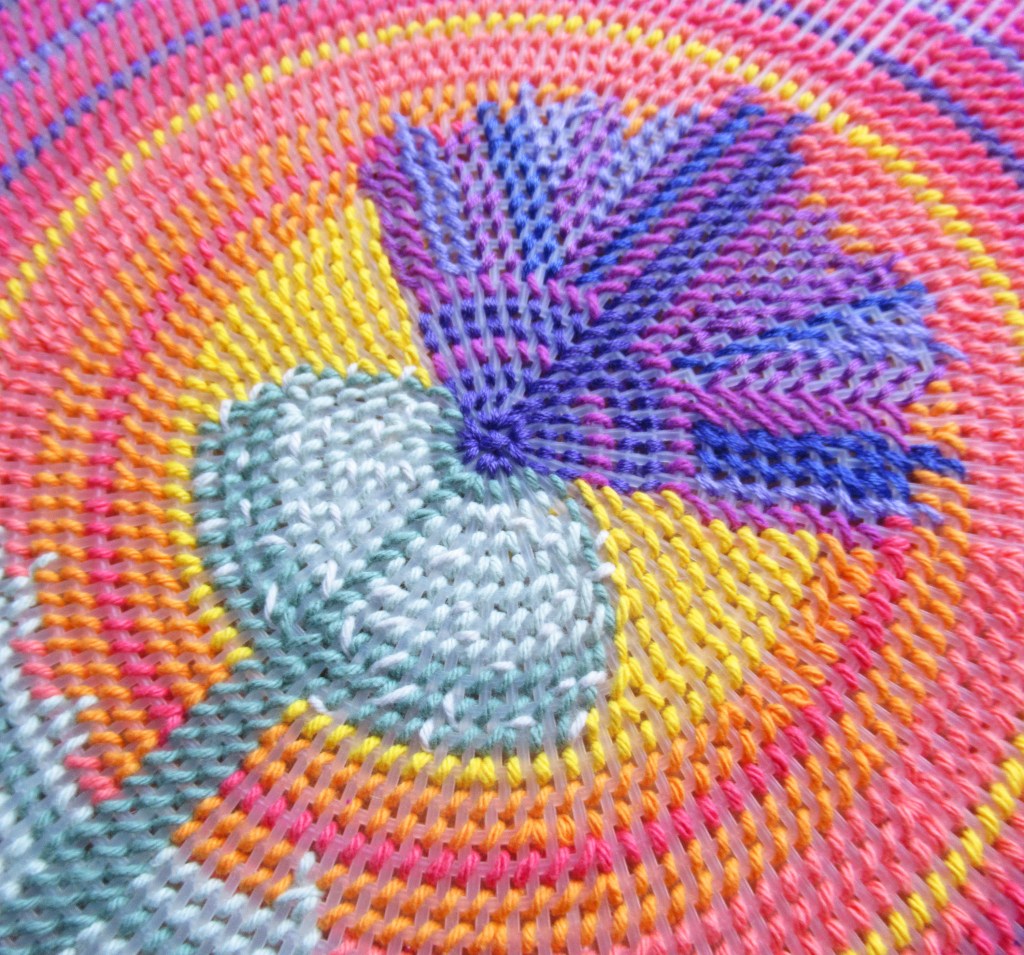
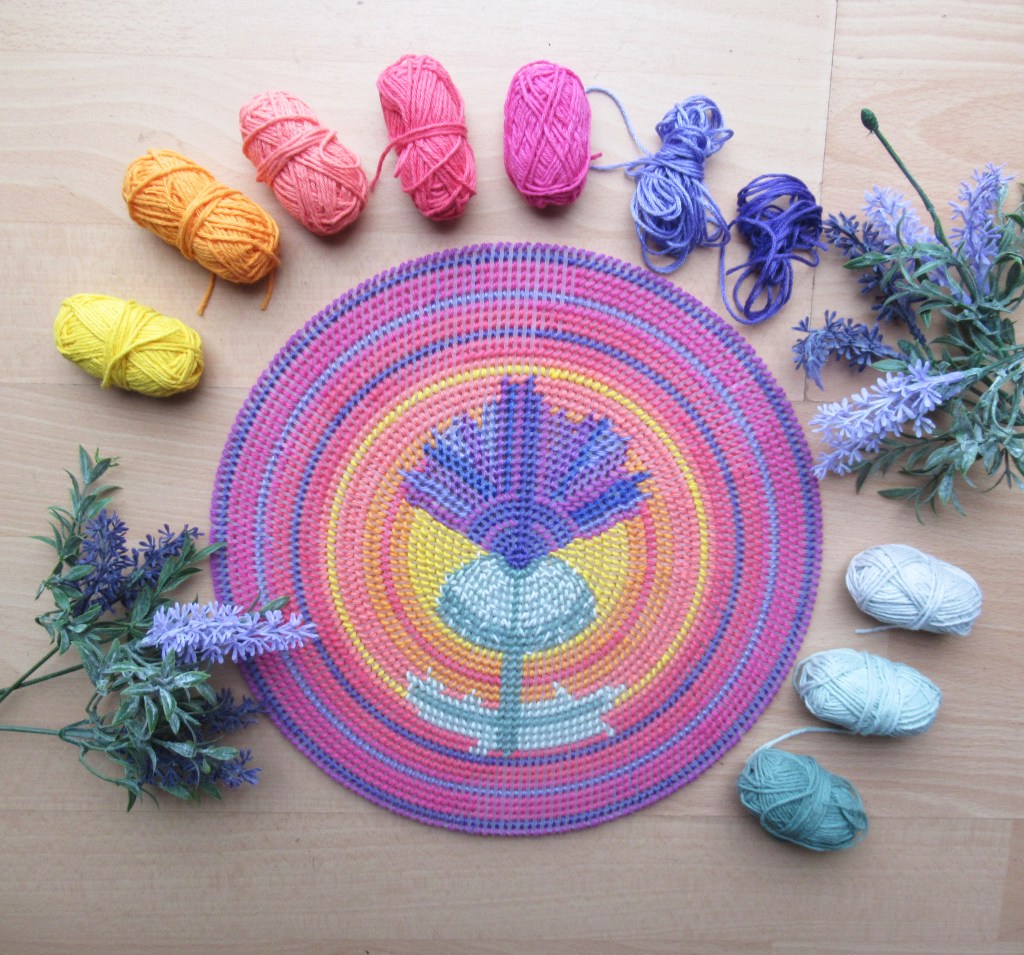
I ended up using free-handing the design for the most part with the different colours of crochet cotton I could find in Action, a discount-style store here in the Netherlands. They have some really lovely little packs of 100% cotton thread which worked perfectly (similar to this one). The great thing about using 100% cotton yarn or embroidery thread instead of acrylic knitting / crochet yarn is that it tends not to go as fluffy. This is a big bonus when you’re pulling it through the plastic canvas repeatedly.
Needle-wise I just used a metal darning needle that had a nice big eye for my cotton (like these on Amazon) but a plastic version would be fine too. For starting a new length of cotton and finishing off, I used the same technique I would for ordinary embroidery, using the existing threads to weave in my ends. For the very first piece, leave a tail of 20cm or so, holding it with your hand as you weave into the plastic. Once you have a few rows done, thread your needle back onto your starting tail and weave it in to the stitches on the back of the piece as you would with embroidery. Try to stick with weaving it into the same colour as this minimises the chance it will be visible on the right side.
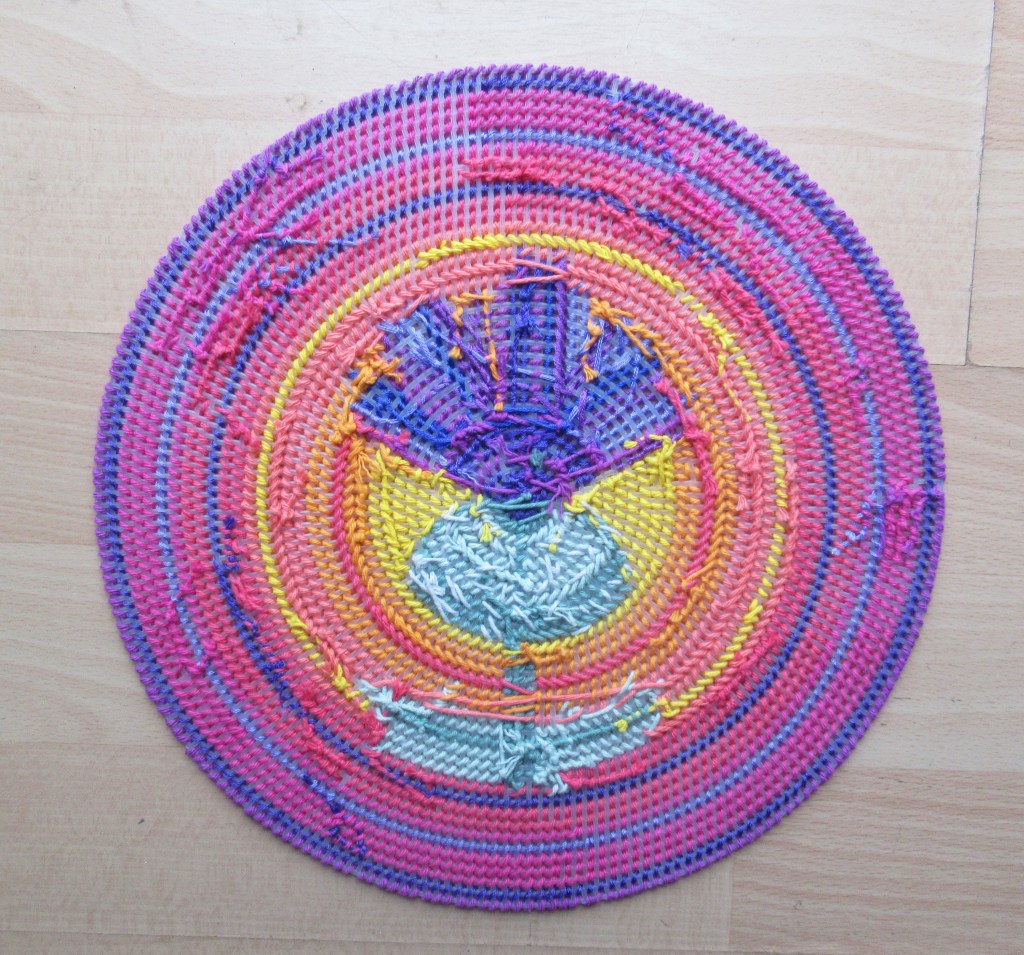
In the end I have to admit that I cut the last few rows off my plastic canvas – super easy since it’s a thin but sturdy plastic! The original piece was 31cm or 12″, the same as this one, but the finished diameter is 26cm including the very simple slip stitch edge I chose. In the future when I’m feeling up for making a second weave, this piece may become part of a funky bag and I decided that it had reached a good enough size for that purpose (not to mention I was dying to finish).
For some more plastic canvas inspiration, visit my Pinterest inspo board here (I may have fallen deep down the rabbit hole)! I may also try to draw up a colour chart for this design so if anyone is interested let me know and I’ll get onto it ASAP 🙂
Happy weaving!
Love,